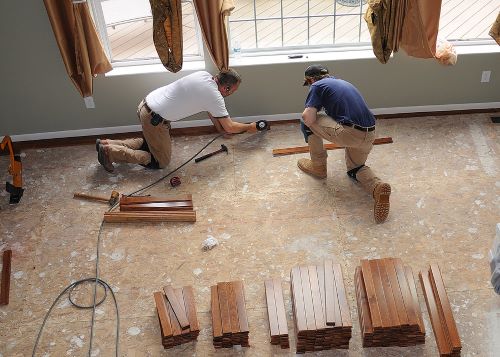
Nothing beats the look and feel of hardwood floors in your home. The allure and charm of the final product are undeniable, but installing hardwood is quite an enterprise, and you should be prepared for all the phases involved.
Step 1: Choosing the Flooring
During this step, there are 2 things to consider: Time required to install a specific type of wood and finish: Some hardwoods will take both stains and finishes more readily than others, meaning the time involved for the installation process will be reduced. Size and layout of the room: The larger the room and the more intricate edges and corners in it, the longer the overall process will take.
Step 2: Prepping the Room
This phase will involve removing all rugs, draperies, and furnishings from the room, as well as wall hangings. This will prevent sawdust from damaging your belongings.
Step 3: Installation of the Floor
Here, you need to consider the state of the subflooring, as the hardwood will be directly attached to it, and subfloor discrepancies can significantly affect the look of the final product.
Step 4: Sanding the Floor
Sanding will prepare the boards to effectively take the finishing coat, as well as ensure smoothness and flatness that is not affected by inconsistencies in the subflooring, but by the sanding itself.
Step 5: Applying the Finish
The type of wood you’ve chosen will determine your options for the type of finish to be used. In addition, the expected traffic pattern on your new flooring, as well as environmental conditions, will further determine the best type of finish to apply.
The intensity of the fumes and required drying time for the finish will determine the amount of time required before you can either utilize the room or even be in your home. The general rule of thumb is waiting at least 1 or 2 days before you walk on the floor.
Tongue and Groove would love to be a part of your hardwood installation experience. Give us a call today at 800-689-9006 to get started!


